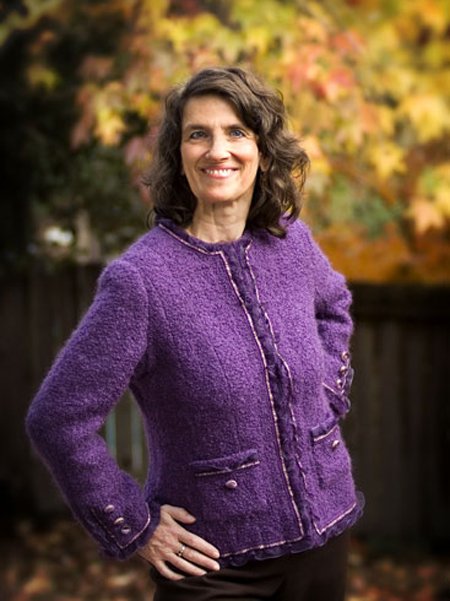
The couture jacket is created without using interfacing in the construction process. The lining of the jacket is 'quilted' to the fashion fabric to create the structure necessary to maintain shape.
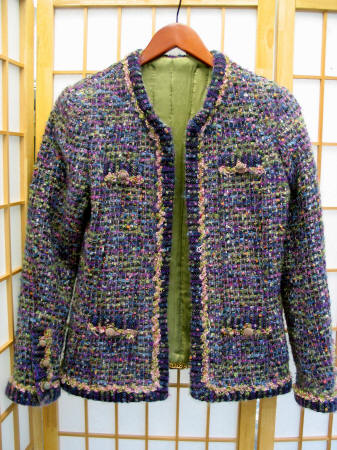
The couture jacket is created without using interfacing in the construction process. The lining of the jacket is 'quilted' to the fashion fabric to create the structure necessary to maintain shape.
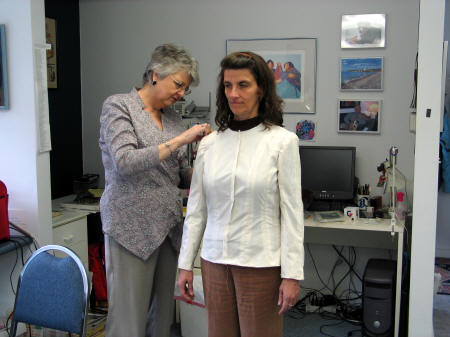
Jane Makes the Final Fitting to Vicki's Muslin
The first step in making a couture jacket is to create a perfectly fitting muslin. Students usually choose jacket patterns with 3 pattern pieces for each front, 3 pattern pieces for the back, and a three piece sleeve. If the pattern did not come with a three piece sleeve, Jane would show students how to create one. After a quick tissue fitting, a muslin was made for fitting. Adjustments were made to the muslin until it fit perfectly.
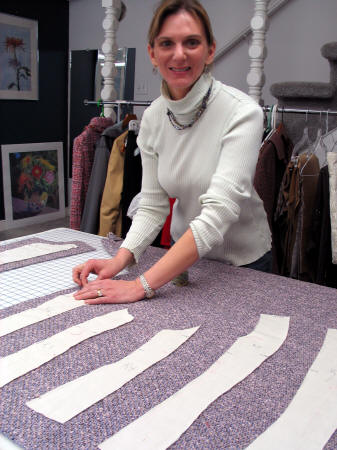
Cutting Out the Couture Jacket
The fitted muslin is taken apart and the seam allowances are removed. This becomes the pattern. Pieces are laid out allowing for a 2 inch seam allowance. Students individually cut left and right side pattern pieces to allow for fitting differences between the two sides of the body.
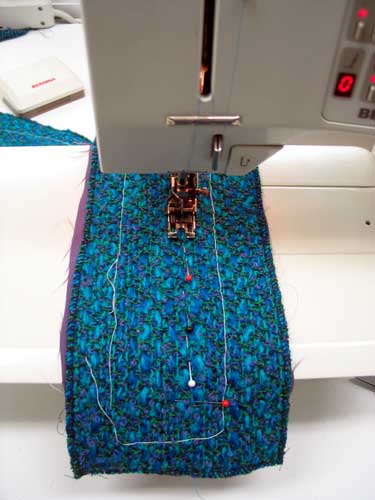
Thread Basting to Outline Stitching Line
The pattern pieces were individually cut, and did not have seam allowances. This makes it easy to mark the seam line and notches before removing the pattern from the fabric. Most students marked the seam lines with thread basting, but some students preferred to machine a basting line on the sewing line.
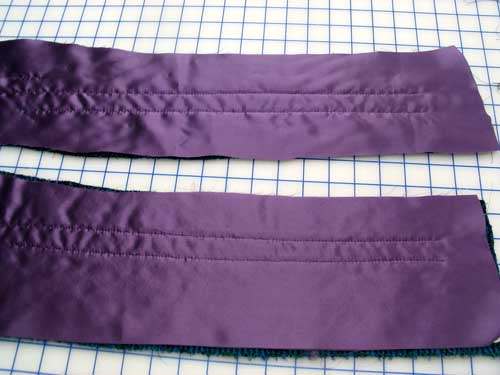
Quilting the Lining to the Fashion Fabric
The lining is sewn to the fashion fabric along the length of the piece. The quilting lines are kept about 1.5" away from the sewing lines, and about the same distance from the hem line. Quilting lines are sewn about 1" to 1.5" apart.
Students select the optimal needle size, tension, stitch length, and thread color for their project. Usually a walking foot is used to help create the seam.
Sewing Together a Jacket Section
The three pattern pieces making up the front and back sections are basted together, and Jane fits each section before the final stitching for that section. (see photo below).
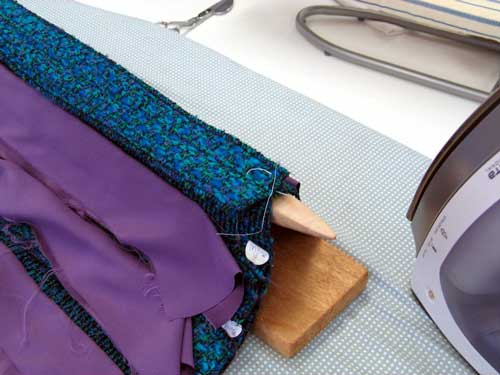
After the fitting, the seams of the fashion fabric are stitched and pressed open with a seam pressing board. Jane will demonstrate the correct pressing techniques. The lining is left loose.
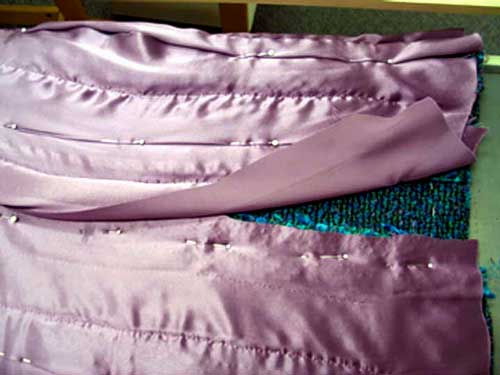
Sewing the Lining Seams
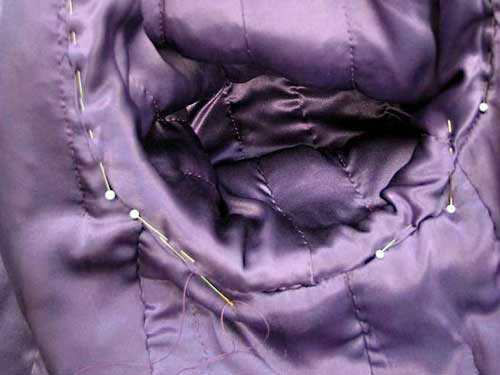
After the seams of the fashion fabric are joined on one of the sections, the lining seams are sewn by hand. The lower lining section in the photo is pinned along the seam line of the fashion fabric. Then the lining section on the upper half of the photo is turned under so its seam line will be right on top of the pin line (and thus right on top of the fashion fabric's seam line).
Stitching the Sleeve Lining to the Body Lining
After the sleeve is custom fitted to the bodice (hanging the sleeve...see photo below), its time to attach the sleeve. The sleeve lining is pinned and stitched along the armhole seam line in a fashion similar to the body lining seams.
Fitting the Body Sections
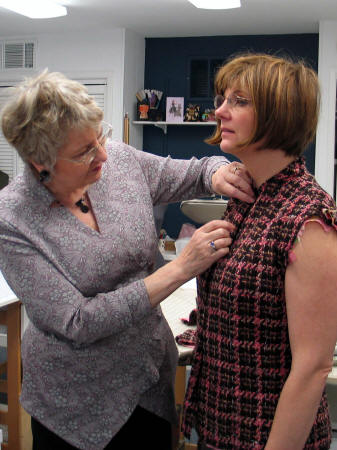
After the two front sections and two back sections are basted together, it is time for another fitting with Jane.
Hanging the Sleeves
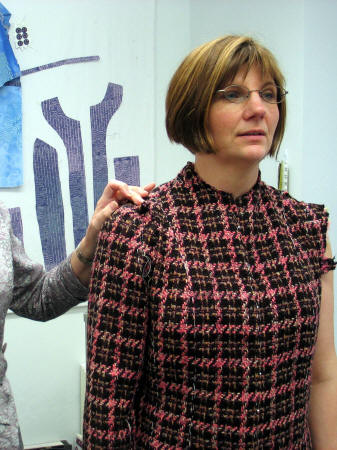
The sleeves are custom fitted for each side of the garment.
Using the Dress Form
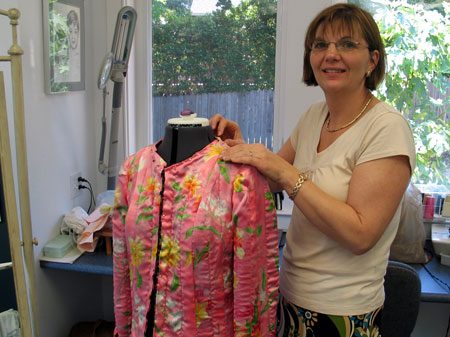
Barbara uses the dress form to help smooth out her lining pieces and pin them in place.
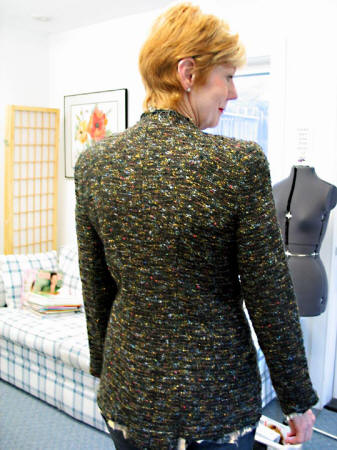
Showing Off a Great Fit
Sharon is happy with the fit of her jacket, and is now ready to start some of the finishing details.
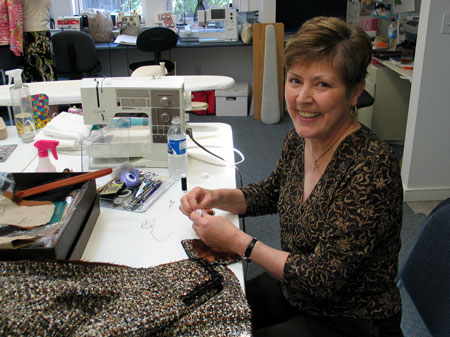
Finishing the Couture Jacket
All the seams are now finished by hand. Then its time to add the pockets and the trim. A group of students accompanied Jane on a trip to Britex, and she helped them with their selections. Other students were helped on a trip to Finding's in Carmel when they were there on a Sewing Vacation with Jane.
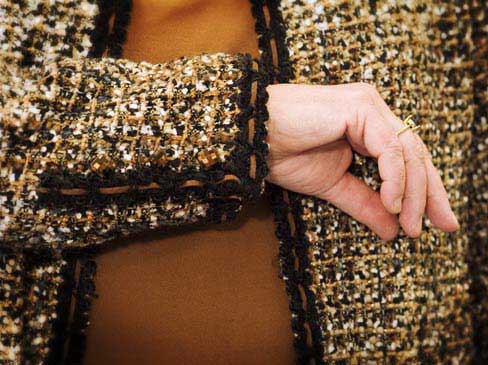
Each Jacket is Finished Uniquely
The choice of trim and decorative cuff buttons is endless. Each student chose styles complimenting their personality.